Ranunculus bulbs are perennial flowers that, unlike many other plants, tend to thrive in cooler weather. This makes them ideal for people living in colder states, or those who simply want something a little brighter in the early spring or fall. However, to get the most out of these flowers, you have to know how to prep and plant them.
For the best results, soak ranunculus bulbs in water and place them on a tray covered in moist soil for 7-10 days before planting. Then, plant the bulbs face down in the soil, around 2 inches deep and 4-6 inches apart. Water them frequently, and make sure they get plenty of sunlight.
Let’s take a closer look at how to prepare and plant ranunculus bulbs, including what temperatures they prefer and how to give them the best chance at thriving in your garden.
What Are Ranunculus Bulbs?

Ranunculus bulbs — also known as buttercups — are cool-season perennial flowers that grow best in temperatures of around 55 degrees Fahrenheit. They have brightly-colored flowers, making them perfect for those who live in colder states and others who simply want to make their yard look especially nice when the cooler months roll around.
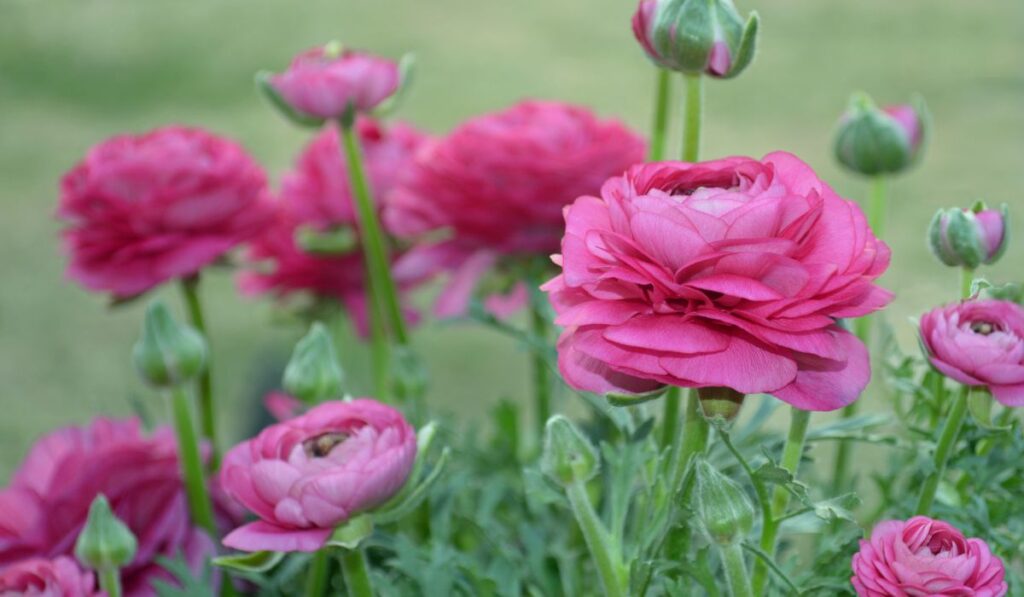
Ranunculus colors include red, orange, yellow, pink, and white. They’ll grow to be around 30 centimeters, though there are dwarf plants available that will only grow around two-thirds as high.
How to Prep Ranunculus Bulbs for Planting
Many people aren’t aware of a trick you can use to give your ranunculus bulbs (on Amazon) a head start. Soak the bulbs in room temperature water for three to four hours, and you’ll notice that they start to grow a little!
You can then place them on a tray and cover them in moist soil. Leave them in a cool place in your house (ideally around 50 degrees Fahrenheit) and then check back in on them in 7-10 days. They should now be ready for planting, so you can take them into the yard and proceed.
How to Plant Ranunculus Bulbs
You’ll want to find a spot outside that’s sunny and has well-drained soil. Even though these flowers thrive in cooler weather unlike many other plants, they still need a lot of sunlight to survive. They can cope with partial shade, but the more sun, the better.
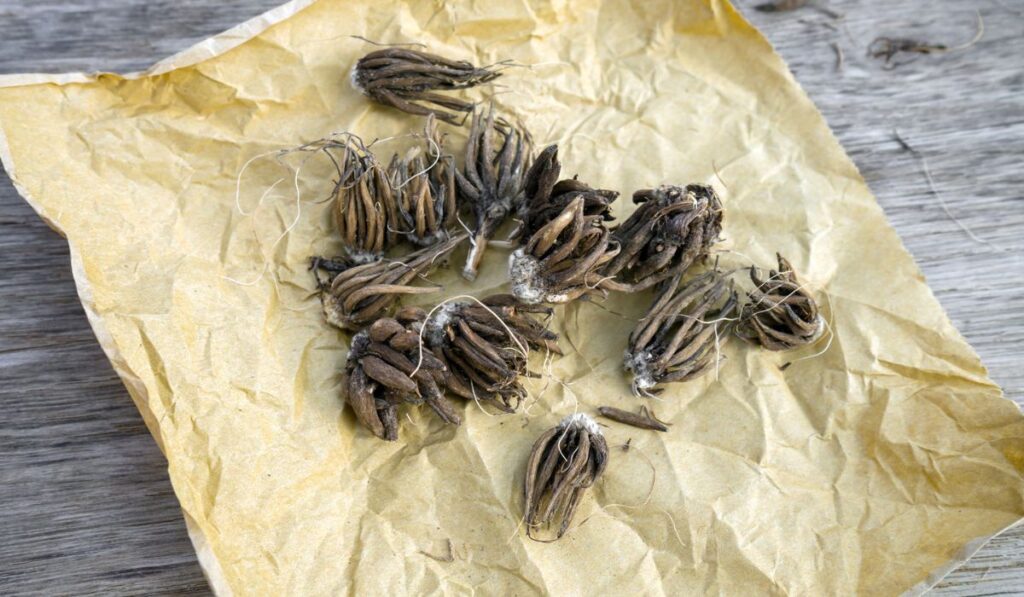
Instead of bulbs, you now have corms — if you took the head start. Dig around two inches deep into the soil and place the bulbs face down. If they’ve grown a little, they’ll look like claws, which should be facing into the earth. You should also make sure they’re around 4-6 inches apart, as this will give them plenty of room to grow.
You’ll notice some dying foliage very early in the process. In most plants, you would prune this, but for ranunculus bulbs, you should leave it alone. The dying foliage will still help gather sunlight, which will be used to keep the plants thriving year after year.
Which Climate Is Best for Ranunculus Bulbs?
Ranunculus bulbs grow best in cool weather. That’s what makes them unique. If you live in a place where the summer doesn’t get much hotter than 55 degrees Fahrenheit, you can plant them in the height of your summer and see them thrive — unlike other plants, which may not survive in that sort of weather.
The same is true for hotter states — the plant will still thrive best at 55 degrees Fahrenheit, which is why the timing will change. It’s best to plant ranunculus in early spring or late fall in these cases, as that’s when it will thrive the most.
The plant can’t grow in anything too far above 55 degrees, nor anything far below it. Around 50 degrees tends to be the cut-off.
How to Care for Ranunculus After Blooming
There are a few things you need to do to ensure you’re caring for your ranunculus after it blooms. Failing to keep up with the proper care could lead to the plant looking a bit shabby or even dying.
Keep It Moist
The first thing you should do is to make sure you keep the top level of the soil moist. This keeps the plant thriving as it will have plenty of water to soak up.
These plants do not, however, like it when the soil is too soggy — so be careful not to overload the plants with water or it may have a negative effect.
Feed the Plants Twice a Month
Use liquid plant food such as Miracle Gro (on Amazon) bimonthly to help the plants reach their best potential.
Remove Dead Flowers
Although you shouldn’t remove the dead foliage the first time it develops, you should definitely remove dead flowers every year. Dead flowers can block others from growing and — even as they’re dying — they use up water and sunlight that other, healthier flowers could be using.
Don’t Water the Plants in Colder Months
When the cold starts to draw in and the temperature dips below the ideal for your plants, you can stop watering them and let them store away until it’s time for them to thrive again.
Can You Plant Ranunculus Indoors?
Yes, you can plant ranunculus bulbs indoors! It’s best to keep them in a cool room, but they’ll also need to stay by a window for sunlight. East-facing is best, as this will provide them with the most light.
You’ll also have to keep the plants moist by watering them frequently, just as you would if they were outside.
How Long Do Ranunculus Last in a Vase?
If you want to cut your ranunculus flowers to keep them in a vase, they can last around a week. If you cut them just before they unfurl and place them in a vase with water, they might last a little longer.
Are Ranunculus Good Plants for Beginners?

The good news is that the ranunculus is very easy to care for and is therefore a very good plant for beginners. As long as you follow the proper instructions, such as giving the plants enough water and storing them properly in the winter, then your flowers will likely thrive.
It’s important to note, however, that these plants can be poisonous to dogs, cats, and horses. If you have pets, consider keeping the plants out of their reach. If the plants are indoors, put them on a high shelf that animals can’t reach or, if outside, keep them behind a fence.
Overall, ranunculus are great plants to have. They’re easy to grow, look great, and will thrive in months when other flowers simply can’t keep up. However, it’s important to prune the dead flowers, give them the correct amount of water, and fertilize them twice a month for the best possible results.
