
Is there anything better than the aromatic scent of a couple of garlic cloves cooking away on your stove? Along with having a deep, intense flavor and countless culinary uses, the vegetable also works as an excellent insect repellent in your garden. It has been used as a classic home remedy for decades. With so many uses, it’s just better to have a few cloves growing right in your backyard (unless you’re a vampire).
It’s best to start the garlic planting process between late September and November, and harvest the bulbs next June, July, or August. Add a bit of compost to the soil before planting, and space the cloves six inches apart. Keep them in full sun, water them during dry spells, and weed regularly.
Homegrown garlic hardly requires effort and takes up very little space. It’s straightforward to grow––you need a few garlic cloves to start the planting process. Let’s look at what exactly garlic is, when you should plant it, how long it will take to grow, and how you can plant, grow, and harvest the ‘stinking rose.’
What is Garlic?
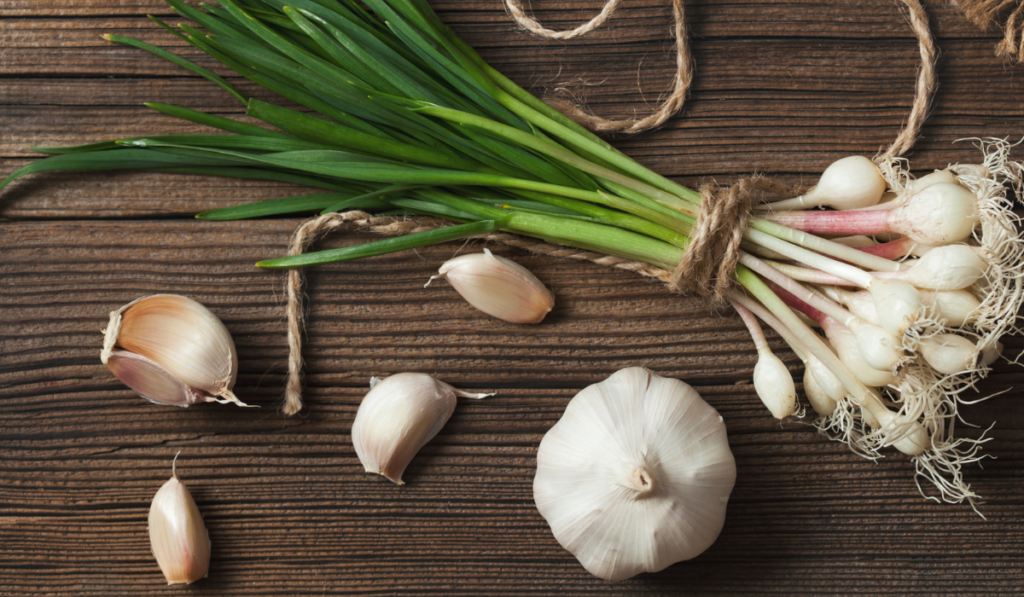
This Mediterranean cooking staple belongs to the onion family and thrives in warm climates and well-drained soil. Instead of seeds, it’s grown from cloves, which you should ideally plant in late fall. Garlic becomes ready to harvest in the following summer.
There are two main kinds of garlic:
Softneck garlic
Softneck garlic bulbs (on Amazon) produce the kind of garlic commonly found in supermarkets and can produce up to 18 cloves per bulb. It stores well, has a thin, white skin, and rarely grows a flower stalk. However, it cannot tolerate prolonged cold temperatures, so growing it in warmer, southern counties is better.
Hardneck garlic
Hardneck garlic blubs (on Amazon) produce larger but fewer cloves per bulb––typically ten or less. It’s usually hardier than softneck varieties and can grow in colder climates.
Hardneck types often produce a ‘scape’ or curling flower stalk. The stalk straightens out as it grows and sprouts a head of small clove-like bulbils. It’s advisable to cut away the scape as soon as possible, so the plant diverts its energies and nutrients into growing a larger garlic bulb.
While you can let the bulbils develop on the plant, and harvest and plant it later, keep in mind that it will take around two to three years to grow a decent bulb.
Elephant garlic
Although elephant garlic bulbs (on Amazon) produce cloves usually sold as garlic, it’s actually closer to leeks. It produces fewer but larger cloves per bulb and has a very mild flavor. It also takes a long time to grow, so it’s best to start the planting process in October.
It’s important to note that the cloves sometimes don’t divide, resulting in larger, single-clove bulbs. However, you can easily prevent this from happening by planting the garlic early.
You can also harvest the single-clove bulb and either eat it or replant it in the following fall when it will produce typically segmented cloves.
What is the Best Month to Plant Garlic?
It’s best to plant garlic in the fall, usually sometime between late September and November, and harvest it next summer, between June and August.
If you live in an area that receives hard frost, plant the cloves around six to eight weeks before the first frost date and before the ground freezes.
Garlic thrives when it experiences a “dormancy” period in colder weather (at least 40oF) that lasts for around four to eight weeks. Therefore, planting garlic cloves in the fall will give them enough time to develop a healthy root system before the temperature drops and the ground freezes.
Then, in early spring, the cloves “wake up” from the dormancy and start producing foliage and bulbs before the intense heat of summer ultimately stops their growth.
If you live in a mild climate, you can start the planting process as late as March or February, but remember that the resulting cloves won’t be as big. However, you’ll still be able to enjoy the garlic scapes in the summer. You can sprinkle them over eggs, use them as a pizza topping, or add them to salads or stir-fries!
If you want to plant your cloves in the spring, wait until you can work the soil and it breaks apart easily.
How Long Does Garlic Take to Grow?
Garlic has an incredibly long growing season. It usually takes around eight to nine months for a planted clove to develop into a large head of garlic fully. But don’t let this timeline discourage you! Homegrown garlic is invaluable and definitely worth the wait.
To put things into perspective, if you live in a cooler climate and plant garlic in the fall, the head will be ready to harvest in the following summer.
Does Garlic Need Full Sun?
Garlic grows best in full sun and well-drained soil, so it’s better to plant them in an area that receives around six to eight hours of sunlight daily.
Wet soil around the foliage can also make the plant more vulnerable to diseases, especially if you planted it in fall. Garlic doesn’t grow in acidic soil, so if your soil pH is less than 6.5, reduce the acidity by adding lime in winter and fall.
Can Garlic Survive Frost?
Like other spring bulbs, garlic can survive frost as long as it has a healthy root system. While its above-ground growth is also incredibly winter-hardy, it’s better to avoid planting in December, as that might not give the plant enough time to develop strong roots.
Even if you live in a warmer climate, it’s better to plant garlic in September or October. The more time it has to grow in the fall, the better and bigger the harvested cloves will be in the following summer.
How to Plant Garlic
Before starting the planting process, it’s important to prepare the soil first. Around a week before placing garlic in the ground, add a healthy helping of aged manure or compost into the soil.
Then, right before planting, mix in a few tablespoons of bone meal, fish meal, or 5-10-10 complete fertilizer into the soil a couple of inches below where you’ll place the base of the cloves.
To prevent weeds, you can cover the soil with a weed-suppressing membrane or black plastic sheeting, then plant garlic through the slits.
Here are a few more tips that can help you plant your cloves:
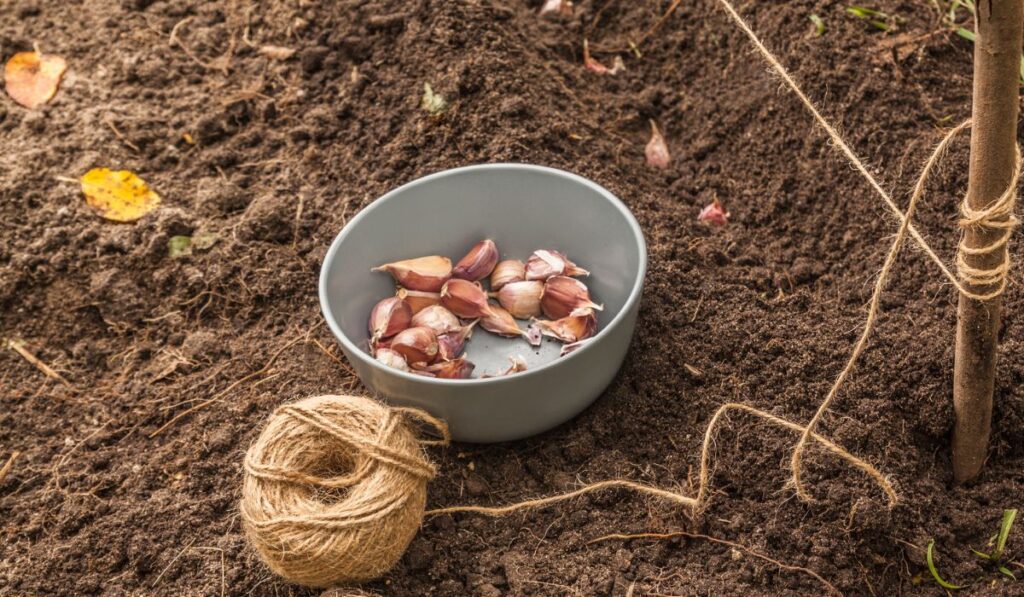
- Pick large, healthy cloves that are free of disease. The bigger the clove, the better and healthier your bulb will be the following summer.
- Remove the cloves from the bulb a couple of days before planting, but don’t peel off the papery husk covering each clove.
- Plant the cloves correctly, with the pointed end facing upwards and the flat plate downwards.
- Place the cloves six inches (15cm) apart and bury each tip one inch (2.5cm) below the soil.
- Planting deeply in light soil can result in larger bulbs, but avoid doing so in heavy soil.
- Space each row one foot (30cm) apart.
It’s important to note that birds love garlic bulbs and will remove them from the soil. To prevent this, it’s better to lay a horticultural fleece or bird netting over new seedlings until the plant is half an inch tall.
In colder regions, in winter, you might need to place a cloche over your cloves. This additional protection will promote root growth and ensure better and bigger bulbs next spring.
Planting in modules
If you have heavy, wet soil, it’s better to plant garlic in modules in the fall, overwinter it in an unheated greenhouse or cold frame, and then plant it again in the spring.
Here’s what you need to do:
- Fill a modular tray halfway with soil-based or multi-purpose compost.
- Place a single clove into each module before covering it with compost.
- Keep the tray in a cool, dry place––ideally, a well-ventilated cold frame––to protect it from the harsh winter weather.
- Keep the compost moist, but make sure it’s not wet.
- Replant the cloves in spring, spacing them six inches (15cm) apart.
Planting garlic cloves in a container
If you don’t have any space in your garden, or if it’s been infected by onion white rot sometime in the past, then it’s best to plant garlic in a container.
Pick a pot at least six inches wide and deep, and fill it with multi-purpose compost. Place three garlic cloves in a six-inch-wide pot and six in a 12-inch one.
Add a high nitrogen feed, like dried chicken manure pellets, once you see healthy spring growth (usually around April). You can also fill the top with more compost. Remember to feed the cloves only until mid-May.
How to Grow Garlic
Garlic is typically trouble-free and needs very little maintenance. You just need to water it in dry spells and weed it regularly. You will also need to cut off any flower stalks that start to grow.
Watering
Water the cloves in dry spells during early summer and spring to increase bulb size. However, ensure you don’t water the bulbs once they’re large and well-grown, as this could lead to rotting. If you see yellowing foliage, then this means that the garlic has reached this maturity stage.
It’s also advisable to avoid overhead watering as much as possible, as it can result in fungal diseases.
Weeding
Garlic thrives in full sun, so weed it regularly to ensure the plant doesn’t get shaded. It’s best to weed by hand, as using a hoe can damage the developing bulbs. It’s also advisable to plant through a weed-suppressing membrane or black plastic sheeting to reduce the number of weeds.
Additional Growing Tips
- If you live in an area where the ground freezes during winters, heavily mulch your garlic beds with leaves or straw for proper overwintering.
- Remove the mulch in the spring once the threat of frost has completely passed. Remember that young shoots don’t survive below 20oF, so make sure you cover them adequately until the temperature warms up.
- Once warmer temperatures arrive in the spring, shoots will sprout through the ground.
- Snip off any flower stalks that grow in spring, as they might decrease the size of the bulb.
- Garlic needs a lot of feed. So in early spring, broadcast or side-dress the plant with pelleted chicken manure, blood meal, or a synthetic nitrogen source, like a pelleted fertilizer.
- Add fertilizer again right before the bulbs grow in size because of the lengthening daylight. In most regions, this usually translates to early May. Repeat the process if you see yellowing foliage.
How to Harvest Garlic
While the cloves are still in their growing stage, you can harvest a couple of the green leaves and use them in salads or as a garnish. You might also find a few garlic cloves on the stalk itself. They form because of the changeable spring weather and are safe to use as regular garlic cloves.
However, instead of digging up the entire crop, it’s better to sample a single bulb first. You can also dig up the bulbs before their tops turn completely yellow (in early July or late June) as some garlic varieties become harvest-ready a bit early.
- Lift a garlic bulb from the ground and check if it’s ready.
- Once you’ve confirmed they’re ready to harvest, carefully dig them up with a fork. Lift them gently, as any bruising can reduce their storage potential.
- Next, thoroughly dry them off in the sun, ideally in a greenhouse or under a cloche. Ensure the area is well-ventilated and avoid excessive heat (above 86oF). Alternatively, you can place them in a dry, well-ventilated shed or any other similar environment.
Depending on your area’s weather, the bulbs will take around two to four weeks to dry. If you see any mold, you can speed up the drying process with a fan heater, but that’s not usually required.
- Once the leaves are dehydrated and rustling, snip off the stalk and place the garlic bulbs in a cool, dry place (41oF – 50oF), where they’ll dry further. You can easily store the dried garlic bulbs for several months.
You can harvest garlic bulbs after the foliage has turned yellow. For example, if you planted your garlic in fall, it will be ready for harvest in early summer, while spring-planted cloves have a harvesting season from mid-summer to early fall.
A ripe garlic bulb will have a head divided into thick cloves and be covered by dry and papery skin. If you pull the bulbs too early, their wrapping will be too thin and disintegrate easily. On the other hand, if you leave them in the ground for too long, they may split apart.
Their skin might also split, exposing the bulbs to various diseases and negatively affecting their longevity in storage.